
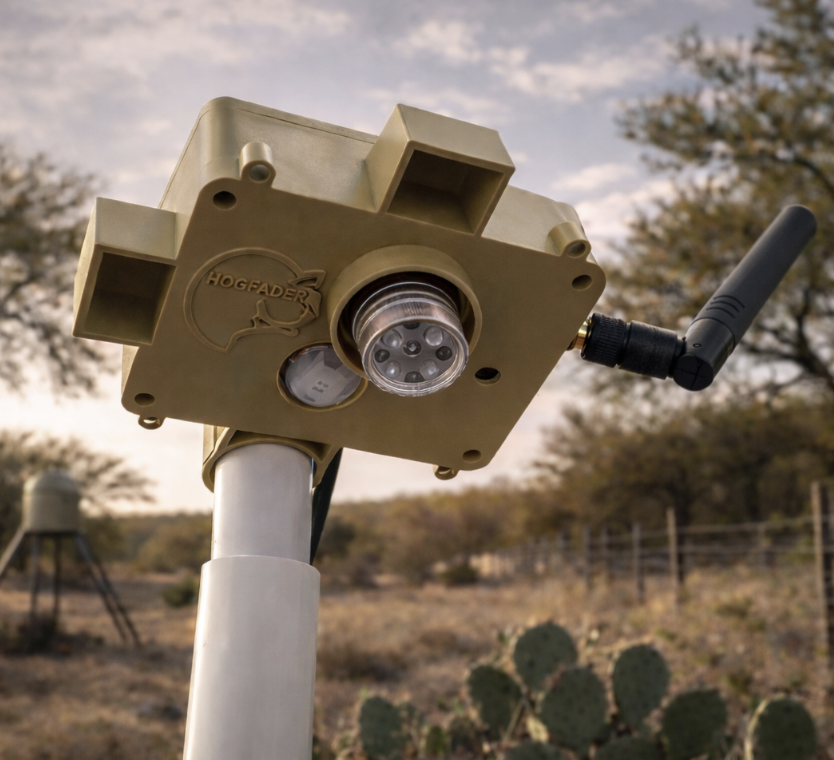
Integrating Trail Cameras With Feeder Lights
Table of Contents
- Why Pairing Trail Cameras With Feeder Lights Changes Night Hunting
- Best Practices for Feeder Camera Placement
- Using 850nm Infrared for Hog Hunting With Night Vision
- Matching Light Color to Your Camera and Your Hogs
- Solar Power, Batteries, and Keeping the Setup Running
- How HOGFADER Solves the Camera-and-Light Integration Problem
- Scouting, Monitoring, and Reading Night-Time Activity
- Conclusion
- Frequently Asked Questions
Last Updated: October 14, 2026
Why Pairing Trail Cameras With Feeder Lights Changes Night Hunting
Pairing a trail camera with a feeder light can help hog hunters document nighttime activity. The feeder attracts animals with feed; the light illuminates the area, while a camera can capture when animals arrive, how many are present, and their direction of travel. This guide explains how to coordinate camera placement, illumination, and power.
A camera and light can have different viewing and illumination angles, even when mounted near each other. Aligning the camera’s field of view with the illuminated feeder area helps produce useful nighttime footage.
- A coordinated setup can use nearby or separate mounting points
- Camera images can document activity in the illuminated area
- Time-stamped footage can help identify patterns over several visits
Feral hogs often become more active after dark, although their feeding schedules vary by location and conditions.
Best Practices for Feeder Camera Placement
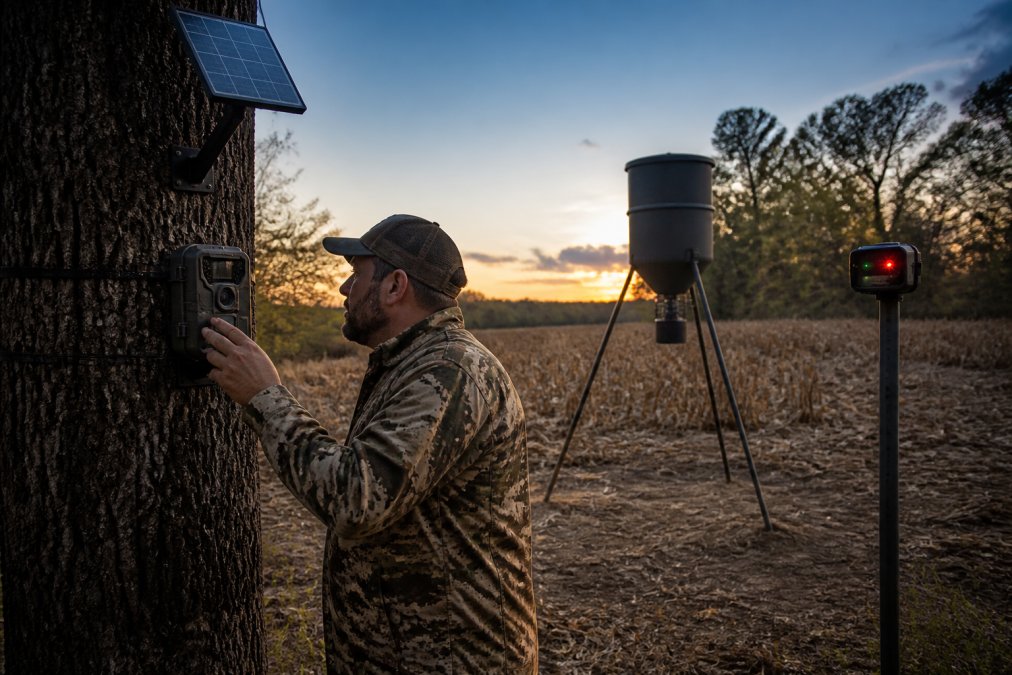
Good feeder camera placement starts with one rule: put the camera where the light already reaches, and put the light where the camera already looks. The camera should look across the feeder, not straight down at it. This gives you full-body shots, a clear view of approaching hogs, and enough context to judge size and direction of travel.
Height, Angle, and Distance From the Feeder
Mount the camera at an appropriate distance and height from the feeder, angled slightly downward. This helps keep hogs from filling the frame edge to edge and can reduce glare from the feeder light.
Consider mounting the light and camera on the same side of the feeder or at complementary angles. Test for glare, backlighting, and obstructions before settling on the arrangement.
Calibrating Field of View to the Light Cone
A camera and a light rarely share the same coverage pattern out of the box. Walk the setup before you trust it:
- Trigger the light and stand at the feeder. Note where the useful illumination actually falls, the bright core, not the spill.
- Check the camera’s detection zone against that bright core. If the PIR cone is wider than the light, you will record hogs in darkness. If it is narrower, you will miss approaches the light already covers.
- Aim the camera so the feeder sits in the lower third of the frame and the approach lane fills the upper two-thirds. This is the framing that shows a hog entering, committing, and presenting a shot.
Managing False Triggers From Vegetation and Heat
False triggers waste battery and fill your SD card with nothing. Trim grass and brush in front of the lens. Move branches that sway in the wind. Heat signatures from sun-warmed rocks and soil can also trip a PIR motion sensor, so aim away from bare ground that bakes all day.
Pro Tip
Keep moving vegetation and other potential false-trigger sources out of the camera’s detection area where practical. Check the actual sensor response at your site.
Keep moving vegetation and other potential false-trigger sources out of the camera’s detection area where practical. Check the actual sensor response at your site.
Preventing Light Bloom and Sensor Overexposure
This is the step most guides skip. A high-intensity feeder light aimed near the camera’s line of sight can bloom across the sensor, a bright halo that swallows the hog’s outline and kills detail right when you need it. Three fixes work together:
- Offset the light a few feet laterally from the camera so the beam crosses the frame instead of pointing into the lens.
- Keep the light’s bright core below the camera’s horizon line. Light aimed above the lens is what causes the worst flare.
- Test with a short recording at the actual distance hogs appear. If the animal reads as a silhouette against a white hotspot, move the light or lower its aim before the season starts.
Using 850nm Infrared for Hog Hunting With Night Vision
For compatible IR-sensitive night vision equipment, 850nm infrared illumination can make the feeder area visible through the optic without illuminating it with a bright visible beam. The LED emitter may still show a faint red glow, and 850nm light should not be described as completely invisible.
IR Night Vision vs. Thermal: What Each One Needs
These are not the same tool. IR night vision needs an illuminator to light the scene. Thermal optics read heat and need no illuminator at all. If you run thermal, skip the IR light. If you run IR night vision, the illuminator is what makes the image possible.
| Setup | Needs an IR Illuminator? | Best For |
|---|---|---|
| IR-sensitive night vision scope | Often helpful in low light | Clear, detailed image at the feeder |
| Thermal optic | No | Detecting heat signatures in the field of view; dense cover can block detection |
| Trail camera | Depends on model | Recording activity over time |
Matching Light Color to Your Camera and Your Hogs
Green and red are both legitimate choices for feeder lighting. Neither is universally invisible to hogs, and neither is always better. Treat the claims you read online with some caution, a lot of them are marketing, not field observation.
How Each Color Behaves in Practice
- Red tends to preserve your own night vision better, which matters on long sits. It reads as a dimmer, warmer scene to the human eye.
- Green often reads brighter to the human eye and can help with shot placement and target identification at distance.
- 850nm infrared is a different category. It is for IR-sensitive night vision gear, not for producing color footage. An 850nm emitter can show a faint red glow at the source, that is normal for the wavelength.
The Camera-Sensor Angle Most Guides Miss
Your camera does not see color the way you do. Most night-capable cameras switch to a monochrome IR mode in low light, and their sensors respond differently to red, green, and IR wavelengths. That means the color that looks best to your eye at the feeder may not be the color that produces the cleanest footage.
Matching Color to Your Setup
- Close, brushy feeders: red can often be easier on the eyes and may be less likely to wash out nearby cover in the frame.
- Open feeders with longer shots: green may give you a brighter, more readable image for identification and shot placement.
- Night vision scopes: 850nm IR is the match, because the scope needs illumination it can see.
Why Gradual Illumination Matters More Than Color
Light color, intensity, placement, and activation behavior all matter. Sudden brightness changes can startle animals; gradual illumination can reduce that abrupt transition. HOGFADER Illuminator uses a 70-second fade-in.
Key Takeaway
Choose light color to suit your camera or optics, then use gradual illumination to minimize sudden changes around the feeder.
Choose light color to suit your camera or optics, then use gradual illumination to minimize sudden changes around the feeder.
Solar Power, Batteries, and Keeping the Setup Running
A feeder setup lives or dies on power. Solar panels can help keep a battery topped off, reducing the need for frequent cell swaps. Mount the panel where it gets direct sun for most of the day. Shade from trees is the number one cause of dead setups.
Watch Out
If your solar panel sits in shadow, the battery drains and the whole setup goes dark mid-season. Check panel angle after the leaves come in.
If your solar panel sits in shadow, the battery drains and the whole setup goes dark mid-season. Check panel angle after the leaves come in.
How HOGFADER Solves the Camera-and-Light Integration Problem
HOGFADER offers the Illuminator feeder light and the Platinum feeder light with an integrated local Wi-Fi camera. The Platinum can provide live viewing, photos, and video to a nearby connected phone without cellular service. A separate trail camera can also be positioned to record activity around an Illuminator-equipped feeder.
Key Takeaway
HOGFADER Illuminator uses a gradual 70-second fade-in to reduce abrupt changes in illumination. Animal responses vary, and no lighting system can guarantee that hogs will remain at a feeder.
HOGFADER Illuminator uses a gradual 70-second fade-in to reduce abrupt changes in illumination. Animal responses vary, and no lighting system can guarantee that hogs will remain at a feeder.
Scouting, Monitoring, and Reading Night-Time Activity
Trail camera data can help turn guesswork into a plan. Review timestamps to find when hogs actually hit the feeder. Most activity clusters in the hours after dark and before dawn. Use that pattern to plan your sits.
- Note arrival times across a week
- Track group size and direction of approach
- Note other wildlife visiting the feeder
Conclusion
Getting a camera and a light to cover the same ground takes planning, but it can pay off. Power, placement, and light color all have to line up.
Frequently Asked Questions
How far should a trail camera be from the feeder?
There is no universal distance. Start with the camera manufacturer’s recommended detection range, then adjust for field of view, feeder size, mounting height, and nighttime illumination. Take test photos and videos at the expected animal distance before leaving the setup unattended.
Does the color of a feeder light affect hog behavior?
Red and green are both used for feeder lighting. Hogs may react to abrupt changes in brightness regardless of color. HOGFADER Illuminator uses a 70-second gradual fade-in to avoid an instant burst of full brightness, although animal behavior cannot be guaranteed.
What are the benefits of using local Wi-Fi cameras over cellular models at feeders?
HOGFADER Platinum creates a local Wi-Fi connection to a nearby phone without requiring cellular service or internet. It supports live viewing, high-resolution photos, video recording, and downloads while connected. Unlike cellular trail cameras, local Wi-Fi does not provide remote access from anywhere; the phone must be within Wi-Fi range.
How do I prevent my feeder light from triggering false camera alerts?
Trim vegetation around the detection zone so wind-blown branches do not trip the PIR motion sensor. Position the light and camera so their detection zones overlap but do not aim across open ground where distant heat sources, livestock, or passing vehicles can trigger them. Mount both on stable hardware so vibration does not cause false triggers. Testing your setup over a few nights and adjusting sensitivity and angle usually clears up most false alerts.